Sean's Soil Substrate Recipe Documented

Nutrients, fertilization, substrates etc
Post Reply
User avatar
Aaron
Posts: 3647
Joined: Thu Apr 15, 2004 11:18 pm
Location: Woodstock, MD

Sean's Soil Substrate Recipe Documented

Post by Aaron »

I've gotten tired of dosing my high-tech tanks lately so I decided to try something new for a while. I've setup a tank using topsoil, high lighting (over 3 wpg) and pressurized CO2. I got the idea from a member in our local club who has all of his tanks setup this way and has had great success.

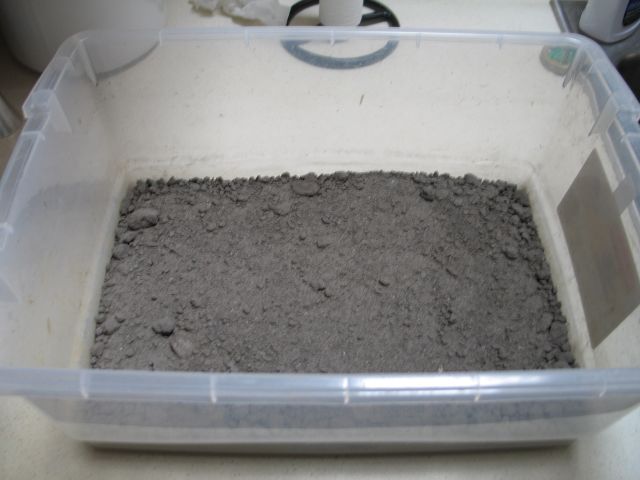
The topsoil used should be the cheapest topsoil that the garden center has. It should not have any added fertilizers, humics, etc... This is the same soil everyone that has setup a Walstad style tank should be using. It will be sandy in texture. I got mine from Home Depot for $1.49 / 40 lb. bag.

The key is to mineralize the soil completely before using it in the tank.

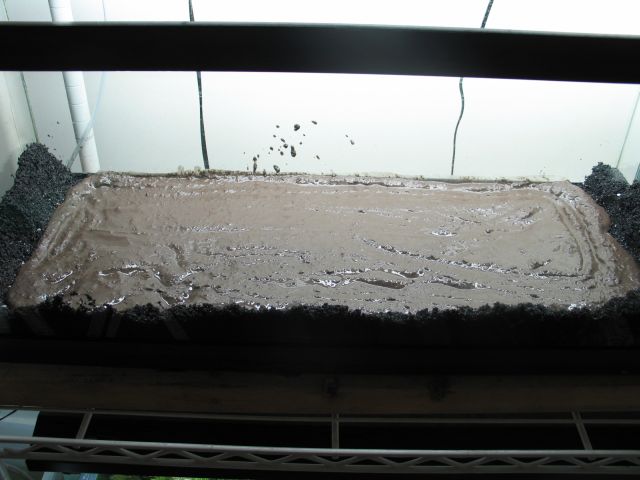
1) Start by placing the soil in a container such as a rubbermaid container outside and filling the container with water so that it covers the soil by a few inches. Then mix the soil into the water well to help the water penetrate.
2) After a couple of days drain off the water on the top and add new water.
3) Again after a couple of days lay a plastic tarp out in the sun and spread the soil thinly over the tarp to allow it to air dry.
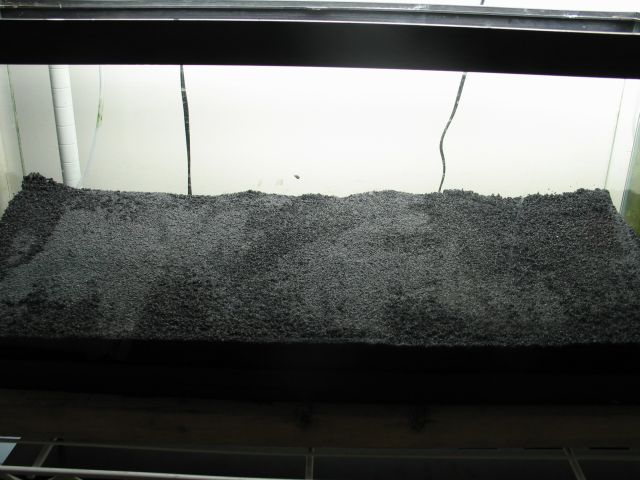
4) Repeat steps 1-3 about 4 or 5 times and the soil should be ready to use. It will be extremely sandy in texture now. Also, any smell that was there when you started should just about disappear.

Image

You'll also need the following materials:
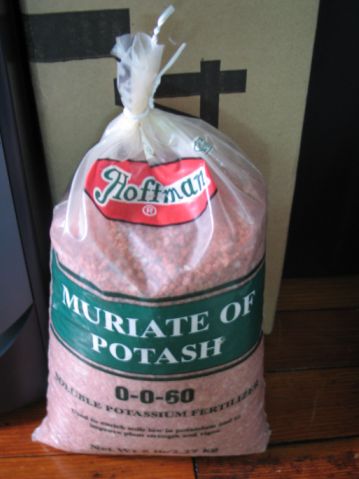
Muriate of Potash $12.00 - this is a soluable potassium fertilizer that can be found at most garden centers.
Image
Estes Dolomite $11.00 - Do not use the dolomite found in garden centers as it is not the same thing. This is crushed limestone to keep the substrate from becoming too acidic.
Image
Red Pottery Clay $13.00 - Do not use modeling clay! It is made of polymers. You need real clay that was dug up from the ground. This will serve both as an iron source and a binder to help the soil settle back down when plants are uprooted. Below is the amount I used, not the amount you get for $13.00.
Image
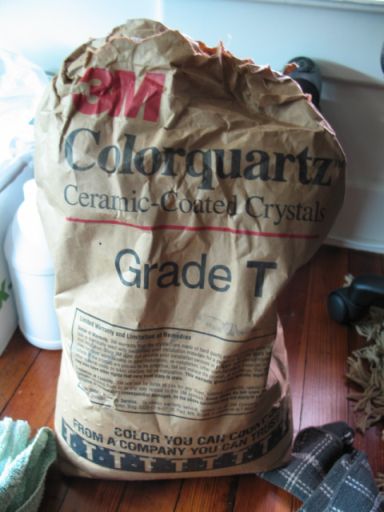
T-Grade 3M Colorquartz Sand $26.00 / 50 lb. bag - You can use any substrate cap you like, I just happen to prefer this one. It comes in a nice black color and it holds a slope like no other substrate I've used. It also holds plants extremely well.
Image
User avatar
Aaron
Posts: 3647
Joined: Thu Apr 15, 2004 11:18 pm
Location: Woodstock, MD

Post by Aaron »

Now for the setup:

The tank I used is a standard 20 gallon long. I started by adding just a little bit of the color quartz sand and wetting it down just enough so that it holds its shape when you move it around. I used this to form a border around the front and sides of the tank. Note: This step is purely for aesthetics and can be ommitted if you wish.
Image
Then sprinkle just a handful of the dolomite and muriate of potash on the bottom of the tank. As you can see from the picture the bags of them that you bought are lifetime supplies. :D
Image
Next I used about 1/5 lb. of clay and emulsified it in a small tupperware container. Do not use your mother/wife's tupperware!This is done simply by rubbing the clay between your fingers until it is in suspension in the water. This takes some time, but is somehow quite relaxing. Then again I like to play in the mud...

I don't have a picture here because I'm also the photographer and my hands were a mess already.

Next mix in the emulsified clay solution with the mineralized soil. Woohoo! More playing in the mud. 8)
Image
Now add this soil soup mixture to the bottom of the tank between your sand borders. This layer should only be 1/2" to 1" thick at the most.
Image
For the next step I added ADA Tourmaline BC, Clear Super and Bacter 100. This is certainly not a necessary step, but I had them laying around at the time.
Image
Now it's finally time to cap everything off with some more quartz sand. I added about 1.5" of sand on top of everything.
Image
Now for the hardscape:
Image
User avatar
Aaron
Posts: 3647
Joined: Thu Apr 15, 2004 11:18 pm
Location: Woodstock, MD

Post by Aaron »

Lastly, everything gets planted: This was taken on 10/5/06
Image
List of Plants:

Rotala sp. 'Vietnam'
Rotala macrandra
Rotala macrandra 'green'
Rotala hippuris
Rotala sp. 'Nanjenshan'
Rotala sp. 'mini'
Bacopa sp. 'Araguaia'
Utricularia graminifolia
Pogostemon helferi
Anubias barteri var. 'nana'
Anubias barteri var. 'nana petite'
Eriocaulon sp. 'Guang Zhou'

The rocks have since been removed because they leached too much calcium into the water. I'll try to update this thread with pictures every week or two.
User avatar
Jeff120
Site Admin
Posts: 1973
Joined: Thu Jun 23, 2005 10:57 pm

Post by Jeff120 »

Nice write up! Are those the rocks that you got from the place on Marriots ridge road :( I was hoping that was a good source!
Jeff U.

Image
User avatar
Aaron
Posts: 3647
Joined: Thu Apr 15, 2004 11:18 pm
Location: Woodstock, MD

Post by Aaron »

Yes, those are some of the rocks. I was suspicious of those being too brittle and soft so they are not the majority of the rocks that I got. I'll test the others to make sure.
User avatar
DelawareJim
Posts: 1249
Joined: Tue Dec 02, 2003 4:25 pm
Real Name: Jim Michaels
Location: Southeast PA

Post by DelawareJim »

It's definately the way to go!

I used a variation of this technique for my 29 gallon Endler tank back in June and I'm quite pleased with how fast everything settled in. Right from the start everything grew like the tank was already well established.

For me, I just went out to my hedgerow, raked off all the organic matter, dug down about 6 inches to get to the subsoil and started using the soil from there. I then mineralized it like Aaron said, added about 1 inch to the tank, added laterite I had left over from another tank and topped off with 1 inch of flourite.

I had a little tinting of the water which probably is from a little organic matter and humates from not repeating the mineralization technique 4-5 times like Aaron suggests. (I didn't want to wait a month so I only did it twice.) However water changes have resolved that.

Since my 2.5 gallon was a bust and I tore it down, I might have to try this on it too.

Cheers.
Jim
User avatar
krisw
Site Admin
Posts: 7100
Joined: Fri Jan 09, 2004 3:25 pm
Real Name: Kris Weinhold

Post by krisw »

So, just a question about the mineralization process. Is the key component just giving it water for everything break down? Or, does it also require heat? In other words, is it possible to do this process right now for the next couple months with the weather turning cooler, or would it be best to wait until Spring/Summer time?

Also, some clarifications on "not dosing." So, basically the idea is to put this nutrient rich soil in the bottom of the tank, capped with sand to prevent leeching enmasse, right? So, with this in mind, will all plants grow well in this environment without dosing, or only rooted ones? How about your typical stems? Also, if you did a non-CO2 tank with this, would enough nutrients leech out to caused problems with the depressed growth conditions due to less CO2?
User avatar
Aaron
Posts: 3647
Joined: Thu Apr 15, 2004 11:18 pm
Location: Woodstock, MD

Post by Aaron »

My understanding is that the idea behind mineralizing the soil is to eliminate or greatly reduce the soil's ability to leach nutrients into the water column.

I've set my tank up with tons of stems and I'm seeing some good growth so far. I'm getting the beginnings of green beard algae, but that seems to be something I struggle with using this water source as I had this problem before I set this one up as well.

I'm debating getting an RO filter for our apartment because I'm tired of working with this weird water. It has GH of 12-13 degrees and a KH of 2.
User avatar
krisw
Site Admin
Posts: 7100
Joined: Fri Jan 09, 2004 3:25 pm
Real Name: Kris Weinhold

Post by krisw »

My understanding is that the idea behind mineralizing the soil is to eliminate or greatly reduce the soil's ability to leach nutrients into the water column.
So, will it do this in cooler weather?
User avatar
SCMurphy
Site Admin
Posts: 2104
Joined: Sun Nov 23, 2003 1:40 pm
Real Name: Sean
Location: Maryland United States

Post by SCMurphy »

Warmth speeds up the process. It might take a little longer in cool weather. You can always do it inside. The idea is to wet and dry the soil to encourage the microbes to completely decompose the organics.
"したくさ" Sean

Aquascape? I'm a crypt farmer.

If you've got bait, I've got wasabi!

I wish I could be like Mr. Sarcastic when I grow up! ;)
Post Reply

Sponsors